This ornament can be used as a Christmas Tree Ornament, an ornament for a package,
or as a sun catcher during the Holiday Season.
This is one of those sculptures that looks simple and it is, however, it is not that easy to make. Every measurement and bend needs to be made exactly or it will look terrible.
If you wish you can eliminate the hook or hanger.
Then do not cut off the excess wire so that it will form the plant stake.
For a real time video of Don Norris making the this sculpture/ornament please click on the "Video" button below.
Now you can purchase 12 Ornaments/Sculptures on one cd, complete with detailed photos and instructions as this Bunny Rabbit.
FREE BONUS: Each sculpture will be featured in it's own video so that you can see how Don Norris makes them in real time.
For ordering information please click on "Order Now" button below.
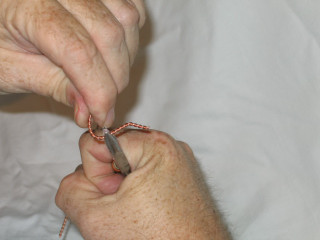
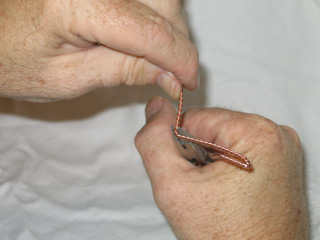
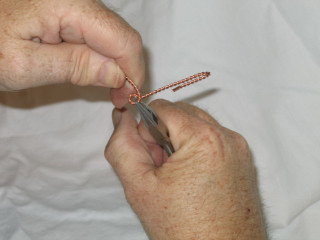
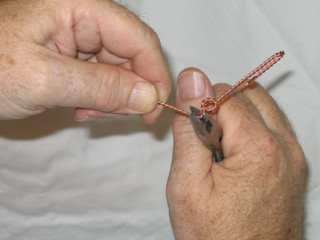
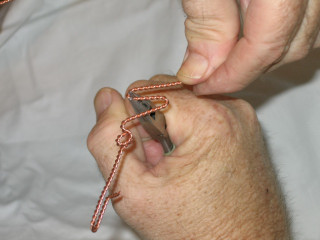
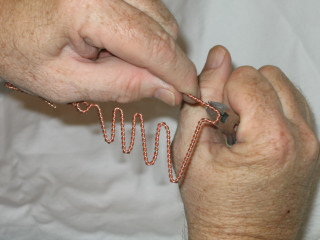
The first step is to make the hook or hanger for the ornament.
Begin by placing the pliers perpendicular to the wire, and about 1/4 inch from one end of the wire.
Bend the wire at an angle of 45 degrees, by turning your wrist slightly.
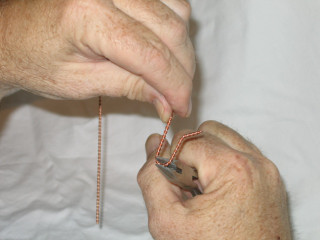
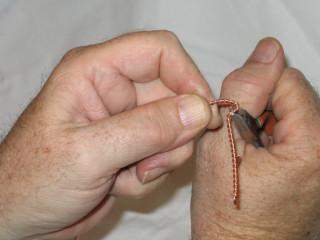
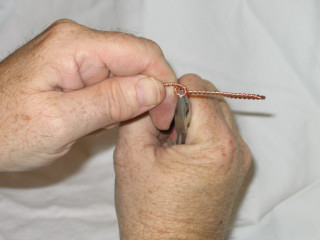
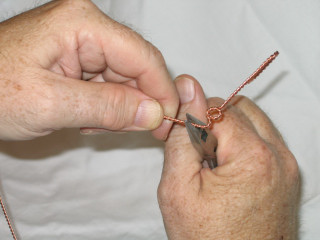
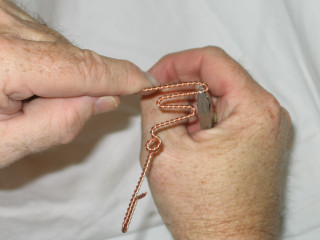
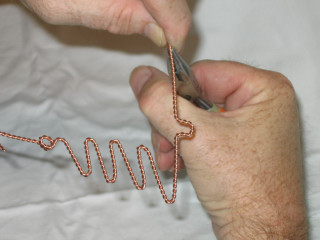
Grasp the wire at 1/2 inch furthur up the first bend. Remember to keep the pliers perpendicular to the wire.
Gently bend the wire in a curve around and back down toward the first bend.
Complete the curve until the wire is now pointing straight and parallel with first part of the hook.
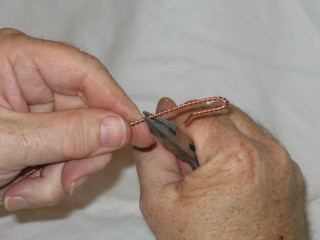
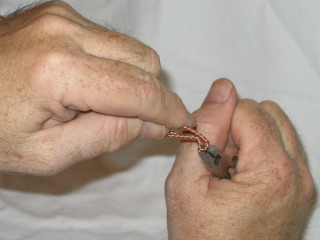
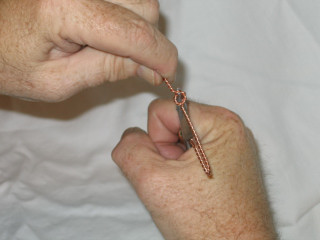
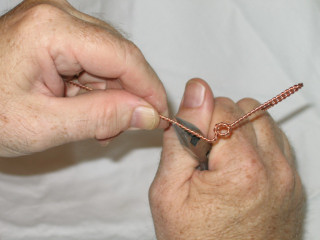
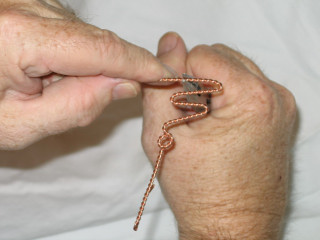
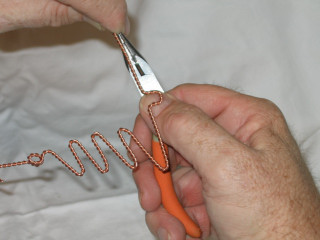
Grasp the wire right under the hook with the pliers parallel with the hook.
Make a 90 degree bend perpendicual to the hook.
I like to put a round ornament at the top of the tree.
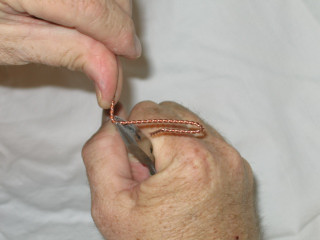
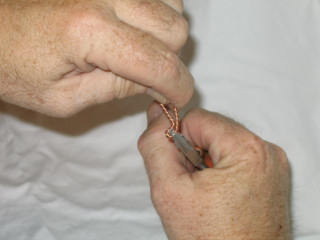
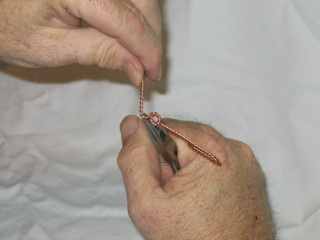
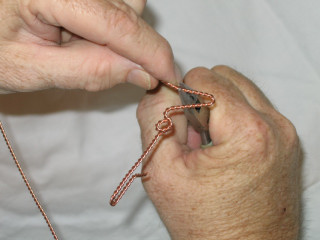
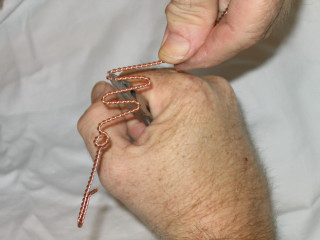
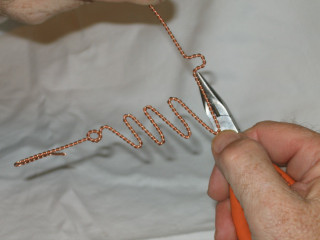
Grip the wire about 1/2 inch under the hook.
The hook is finished.
Grip the wire about 1/4 the way around the circle.
Begin making a round circle by bending the wire around the jaw of the plier.
Grip wire immeadiately after the 90 degree bend.
Bring the wire around the jaw to begin forming the circle.
Grip the wire about 1/2 the way around the circle.
Keep bringing the wire around the jaw.
Keep the wire in front of the wire going up to the hook.
Keep bringing the wire around the jaw to complete the circle.
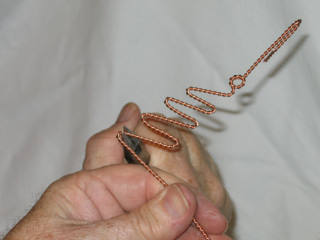
Grip the wire about 3/4 the way around the circle.
Bend the wire straight down at a 90 degree angle.
Grip the circle and the wire again, at the bottom of the circle.
Grip the circle and the wire and continue to make another half circle on top of the first.
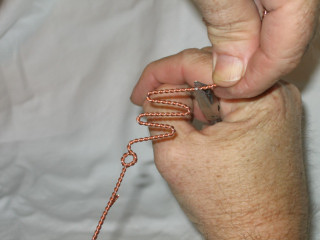
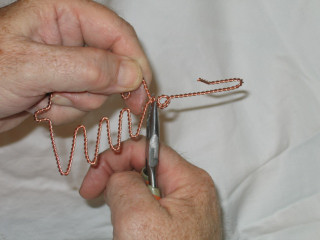
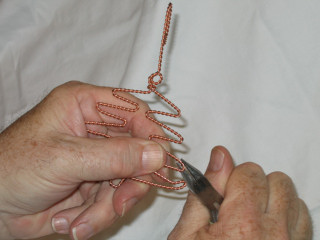
It is important to measure before making everyone of the remaining bends. So use the pliers to measure jaw widths out before making this bend.
Bend the wire out a slight angle down.
Grip the wire right below the ornament.
Two jaw widths.
Three jaw widths.
Grip the wire at this point, and at the tip of the pliers.
Put your finger tight against the wire right at the jaw of the plier.
Bend the wire aroud the jaw and down a little.
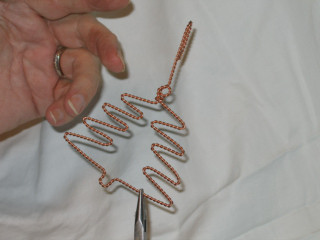
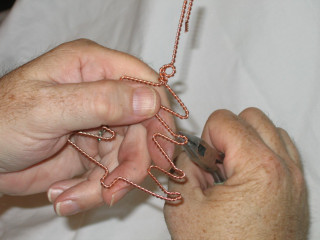
Grip the wire at about two jaw widths in from the last bend.
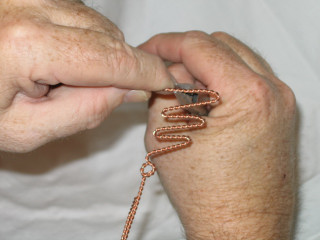
Measure out four jaw widths and grip the wire.
Bend the wire down at the same angle as the first "limb".
Bend the wire around the tip to the jaw.
Measure in three jaw widths and grip the wire.
Bring the wire all the way around the jaw and down at a slight angle.
Always keep your finger tight against the wire to make the same tight bend around the jaw each time.
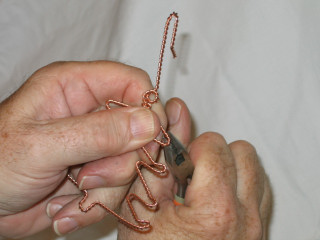
Measure out five jaw widths and grip the wire.
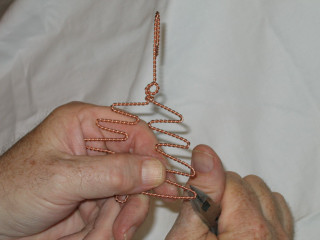
Bend the wire down and around the jaws and again at a slight angle down.
Bend the wire down and around the jaws and again at a slight angle down.
Bend the wire down and around the jaws and again at a slight angle down.
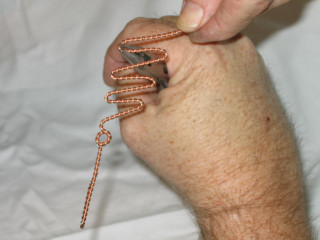
Measure out six jaw widths and grip the wire.
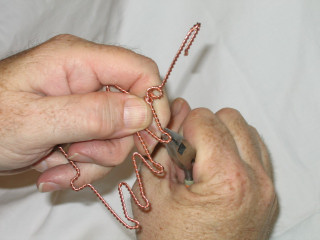
Measure in three jaw widths and grip the wire.
Bend the wire down and around the jaws and again at a slight angle down.
Bend the wire down at a 90 degree angle.
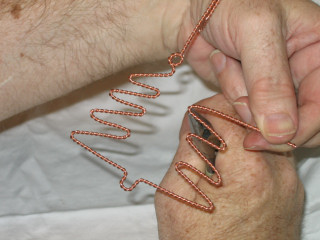
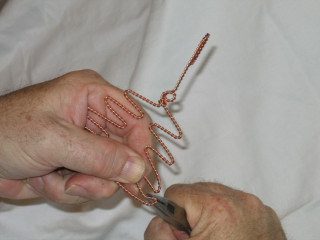
Measure abut 5 jaw lengths in so that the jaws are about one jaw width off center toward the last bend.
Bend the wire out at a 90 degree angle.
Bend the wire perpendicual at a 90 degree angle.
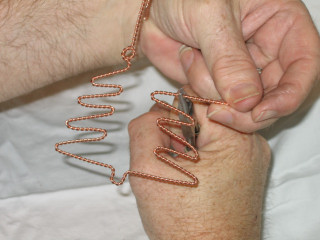
Grip the wire right after the last bend but at about half way down the jaws to make about a 1/4 inch measurement.
Grip the wire right after the last bend but at about half way down the jaws to make about a 1/4 inch measurement.
Bend the wire at a 90 degree angle up towards the top of the tree.
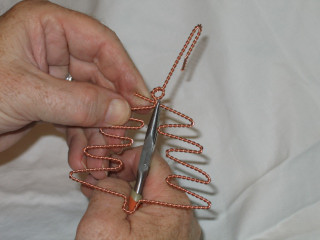
Grip the wire one wide jaw length up from the last bend so as to be parallel from the bend across from the stump.
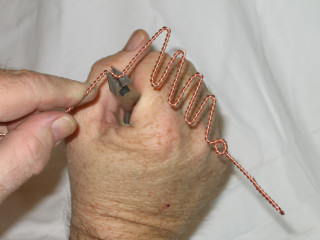
Measure the first limb on the left side of the tree by using the jaws of the pliers.
Measure the right limb.
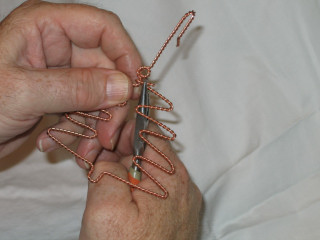
Grip the wire hear at the tip of the pliers.
Bend the wire around the tip of the jaw and slightly upwards.
Bend the wire around the tip of the jaws and slightly up. Of course all we do from here is copy the other side. Be sure to use the jaws for measuring!
Grip the wire to match other side.
From this point on just match the measurements and bends that we did on the other side.
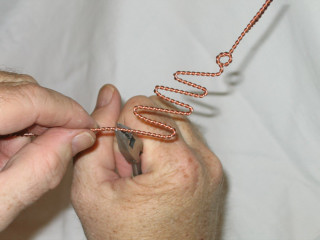
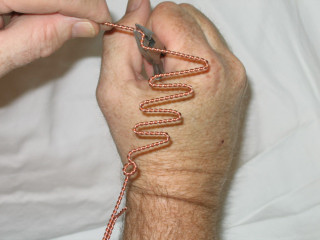
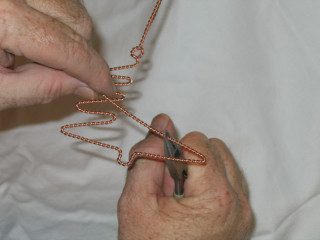
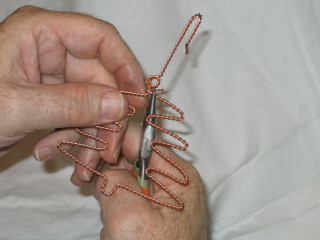
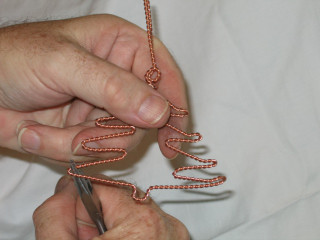
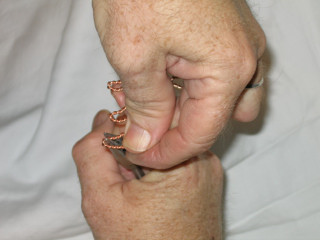
Hold the wire right at the bottom of the the ornament.
Grip the wire with the jaws holding both the wires.
Bend the wire around the and to the back of the tree and ornament.
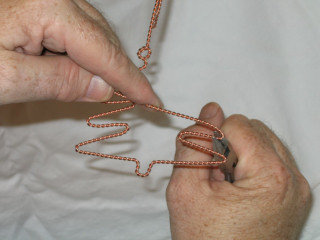
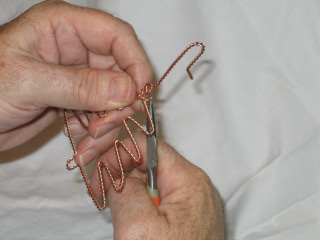
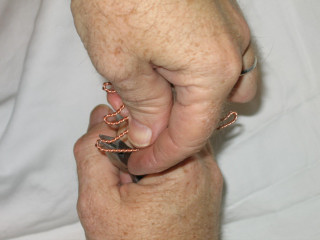
Grip the loop that went around the wire
Squeeze the loop tight to tie the sculpture tight together.
Squeeze the loop tight to tie the sculpture tight together.
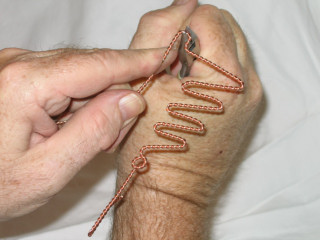
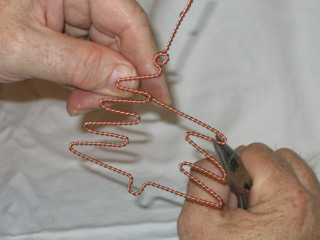
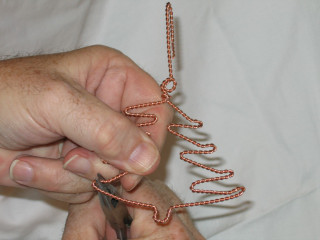
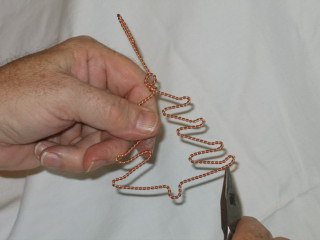
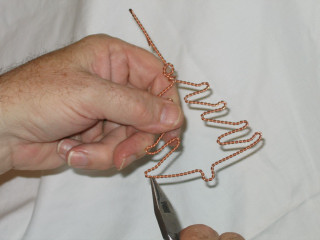
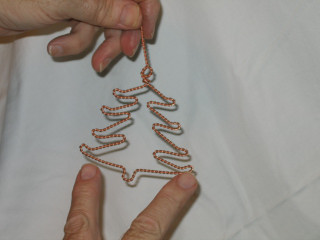
Straighten the ornament and the top of the tree.
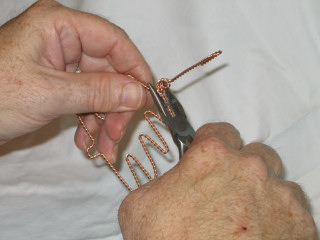
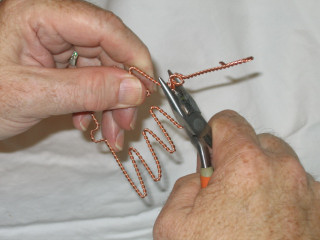
After cutting the wire so that there is enought to be bent around to the back of the ornament, bend it around again.
If the round ornament needs to be re-rounded it is a good time to do it now.
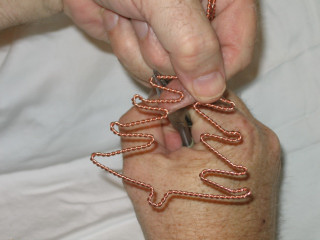
"Tweak" the tree so that the right side mirrors the left side.
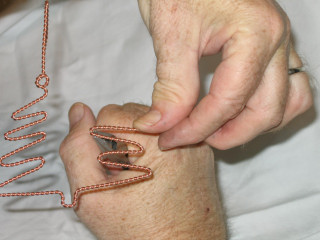
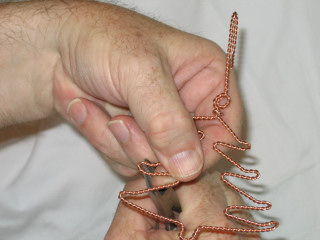
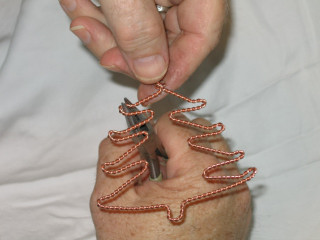
Grip the end of the branch and on top of the branch.
While holding the tree tightly, twist your wrist so that the tip of the branch is curled upwards.
Repeat this step at the end of each bracnh so that each branch is curled upward. This gives the tree some character.
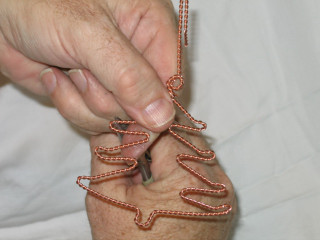
Just use your fingers to space all the branches equally to make the tree pretty.
If you like grip each branch and bend them outward to give the tree a three dimensional look.
Take a little time and go over the entire tree and make each bend match the other side.
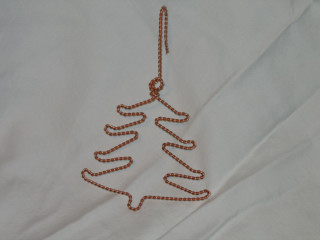
You did a good job if the tree is uniform on each side.
Your done! Admire your Christmas Tree Tree Ornament while you sing "Oh Christmas Tree"!
Now you can purchase 12 Ornaments/Sculptures on one cd, complete with detailed photos and instructions as this Bunny Rabbit.
FREE BONUS: Each sculpture will be featured in it's own video so that you can see how Don Norris makes them in real time.
For ordering information please click on "Order Now" button below.